
From Zero to Film-Ready: Creating 3D Characters with Tripo AI
A step-by-step guide to turning a single image into a film-ready 3D character using Tripo AI - covering modeling, texturing, auto-rigging, and export for Blender and Unity.


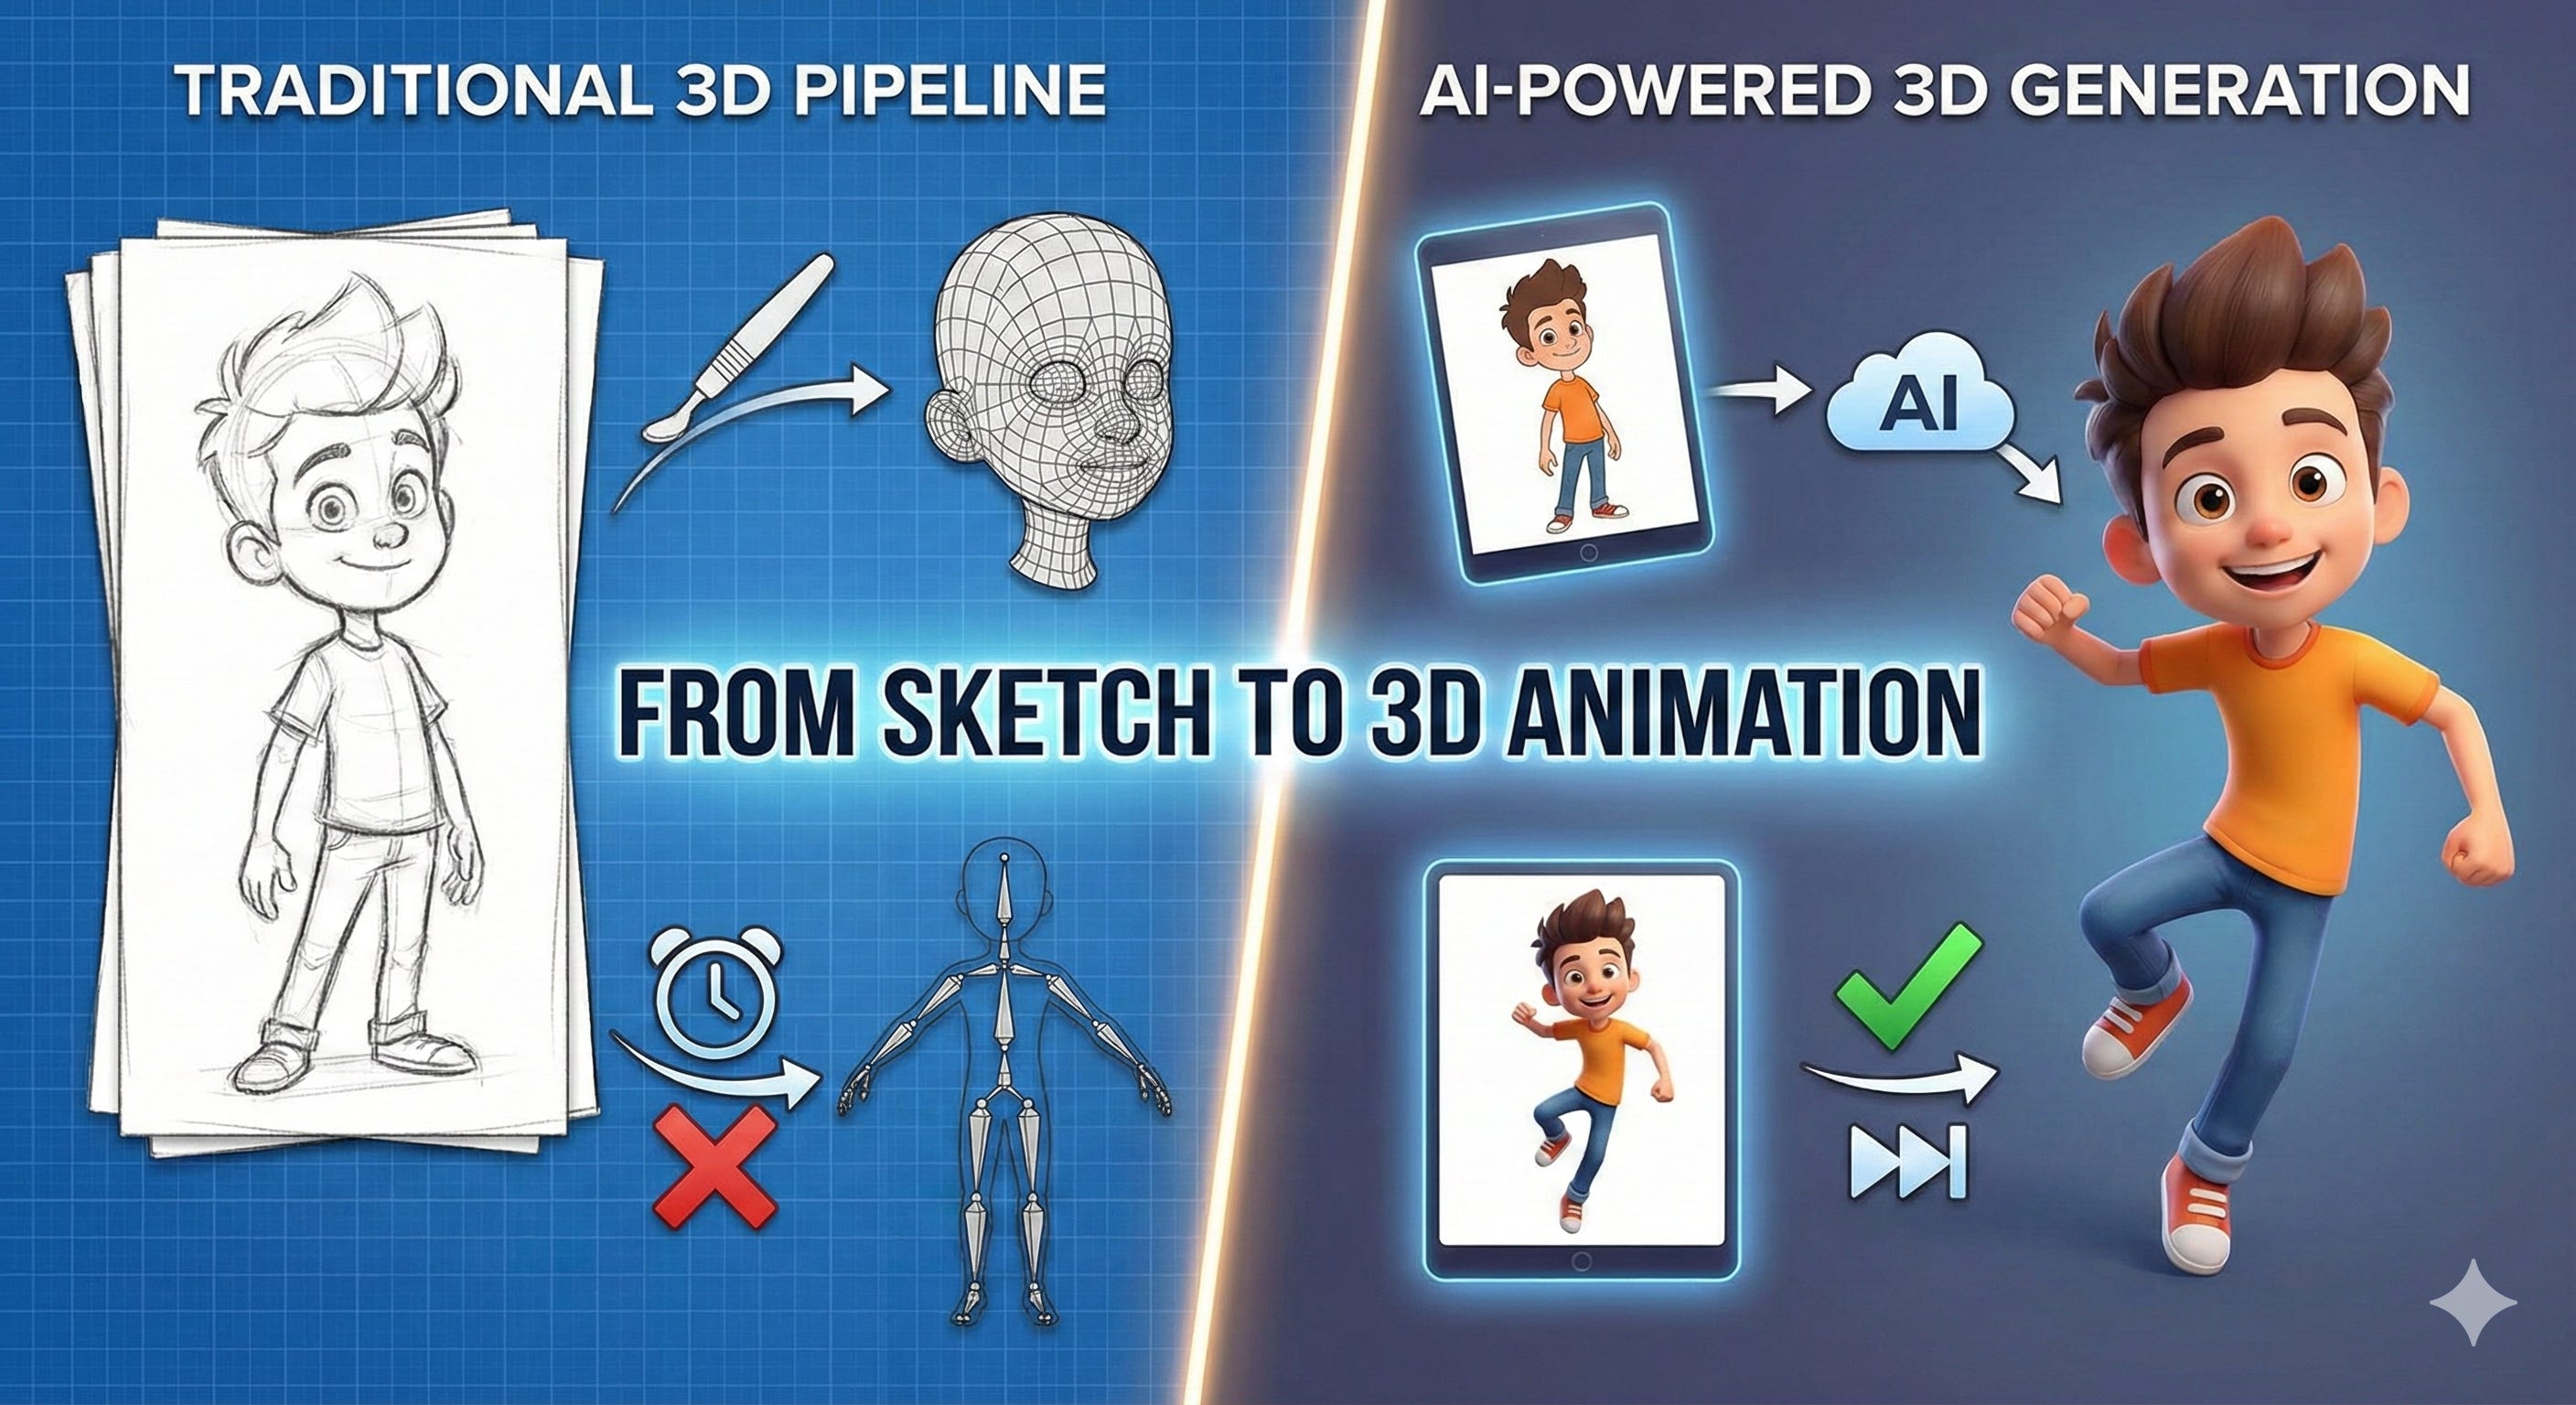
For years, high-quality 3D animation was the exclusive domain of dedicated studios and specialized artists. Today, we are witnessing a fascinating paradox driven by Artificial Intelligence. While AI video tools have become incredibly accessible, the barrier to entry for traditional 3D pipelines involving complex software like Blender, Maya, or Substance Painter—has remained high.
A single stylized character typically requires sculpting, retopology, UV unwrapping, texturing, rigging, and extensive cleanup before a single frame can be animated.
In 2026, this bottleneck will be dismantled by Tripo AI. This guide walks through the process of transforming a single character image into an animation-ready 3D model, ready for professional use in Blender or Unity.
If you’re still exploring options, we’ve also compared the best AI 3D model generators available today—covering strengths, pricing, and use cases—before diving deep into Tripo AI.
The Best AI 3D Model Generators for Game Developers in 2025

Generative AI has revolutionized the space of images with tools like Midjourney, Flux, Ideogram, ChatGPT Image and Google’s latest Nanobanana pro. For 2D Artists, the promise of generative AI has always been speed. The tools came in handy to create first drafts and test new ideas quickly. This technology has also hit the Game development pipeline, makin…
Why 3D Characters Beat Pure 3D AI Video for Consistent, Scalable Content
With the rapid improvement of AI video generation, it is natural to ask:
Why bother with 3D software at all? Gemini Veo3.1 or Sora can do it easily
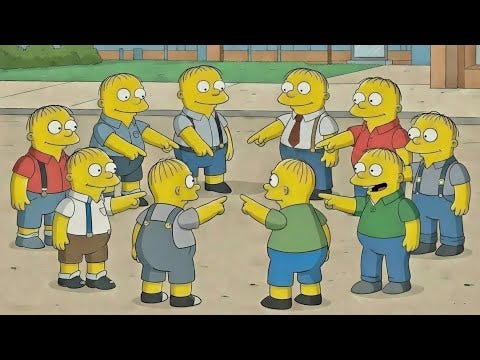
While AI video excels at one-off clips and visual experimentation, it often struggles with character persistence. Maintaining consistent proportions and features across multiple scenes is a significant challenge for generative video.
A 3D character, however, serves as a reusable digital actor. Once created, it offers:
Absolute Consistency: The character remains identical across every episode or shot.
Predictable Animation: Precise control over poses, timing, and movements.
Full Editability: The ability to refine the model or change environments at any time.
Tripo AI, which was recently launched Tripo Studio 1.0 that bridges the gap between the ease of AI and the control of traditional 3D, making it an essential tool for YouTubers, indie animators, and small production teams.
Step-by-Step Guide to Building a 3D Character with Tripo AI
Step 1: Defining the Character Reference
The process begins at Tripo AI Studio 1.0. While the platform includes a prebuilt library of high-quality 3D character models, you can also generate fully customized characters using text or image references with built-in models like Flux Kontext and GPT-4o Image Gen. But the most accurate results for 3D modeling often come from a clear reference image. You can do this by heading over to Tripo’s Image to 3D model generation

Figure 1: Our starting point—a clean, stylized 3D cartoon boy.
For the best results, ensure your reference image is clear and defines the character’s proportions accurately.
Step 2: Generating the 3D Model
Once the image is uploaded, you can choose between Standard and Ultra modes. Standard mode is highly efficient for stylized characters, while Ultra mode is reserved for AAA-level complexity.

Figure 2: The Tripo AI interface allows for quick image-to-3D conversion.
After clicking “Generate Model,” Tripo AI functions as a full AI 3D model generator, converting a single reference image into a usable 3D asset in seconds - a task that would traditionally take days of manual sculpting.

Figure 3: The initial solid 3D model generated from the reference image.
You can further refine the model using the built-in settings, such as smoothing the surface or adjusting the polygon count through retopology to suit your project’s technical requirements.

Figure 4: Reviewing the mesh topology and vertex count.
Step 3: Texturing and PBR Optimization
Next, we move to the Textures section. Tripo AI can generate textures based on your original reference image or a specific text prompt. For stylized animation, the focus is on clean base colors and consistent shading.
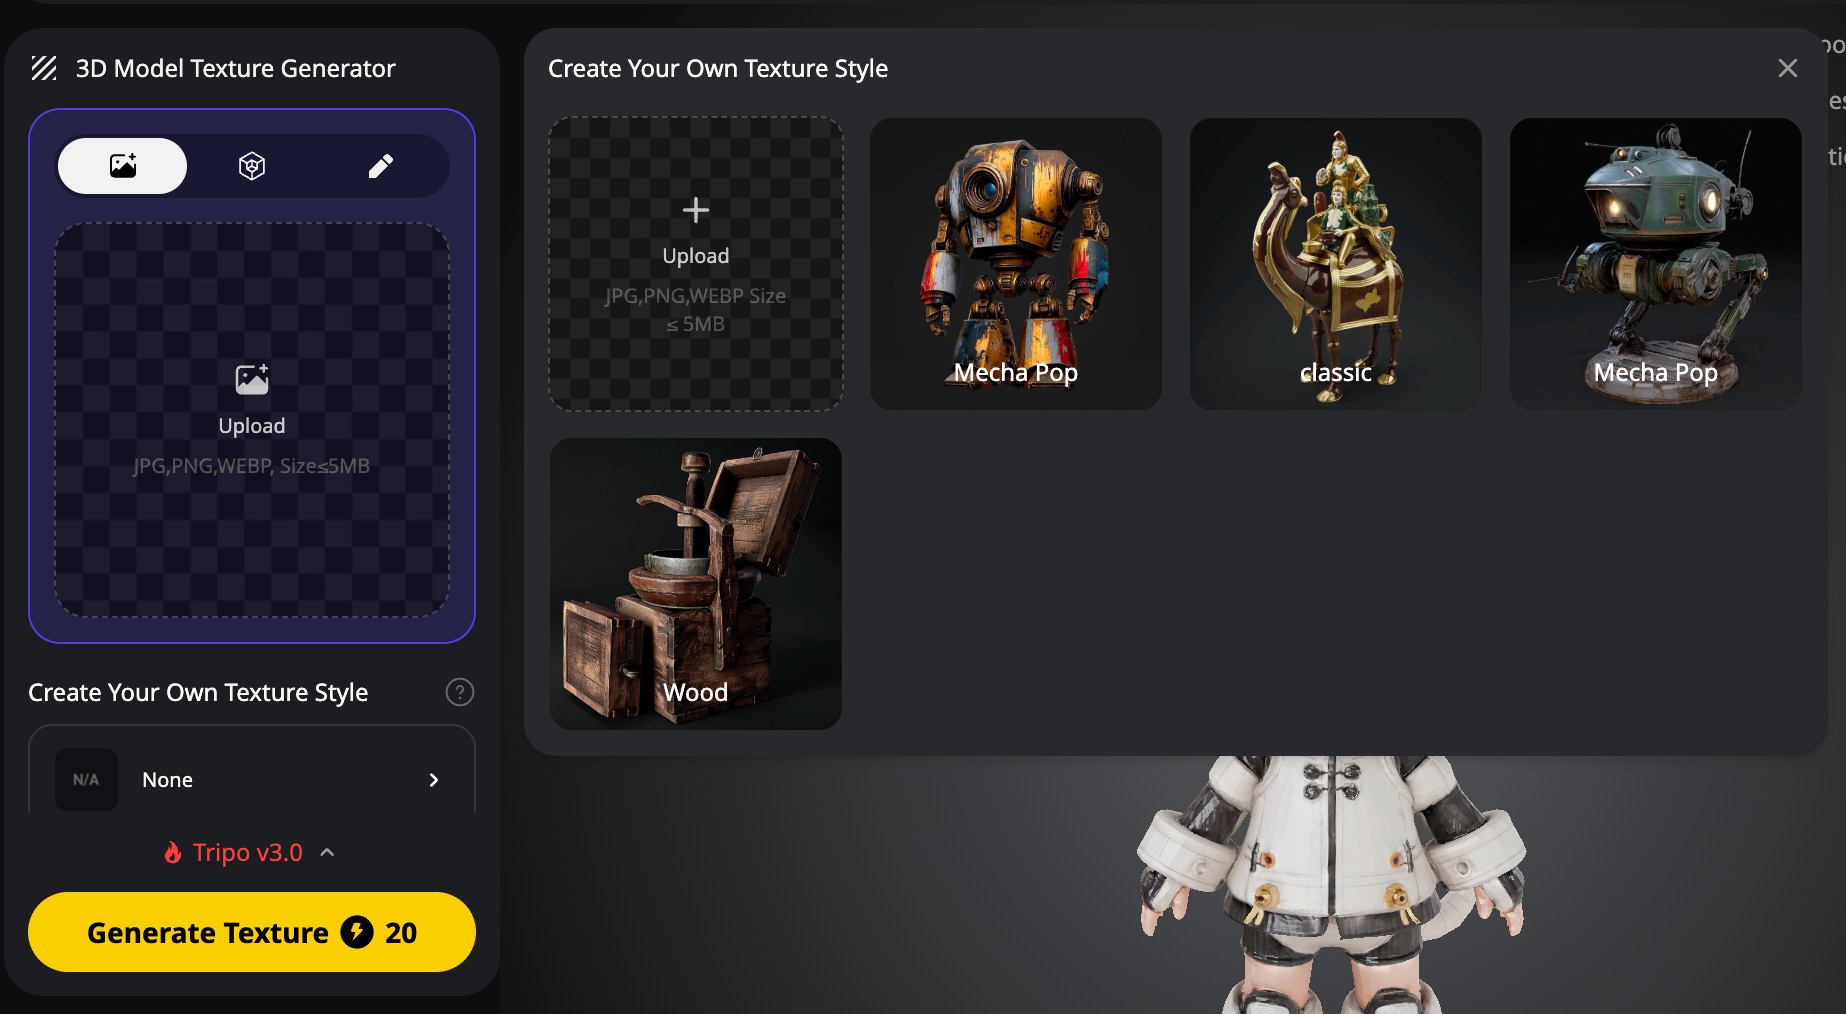
Figure 5: The AI-powered texturing process.
The result is a full-colored, refined texture that responds naturally to lighting. For professional-grade results, you can use the Texture Upscale feature to add fine details and the PBR Generator to ensure the character interacts correctly with light in engines like Unity or Unreal.
Features & Benefit
Texture Upscale :Increases resolution for close-up shots and high-poly models.
PBR (Physically Based Rendering) Generator :Creates Physically Based Rendering maps for realistic lighting.
Segmentation: (Ultra Mode) Splits the character into editable parts (head, limbs).

Figure 6: The character with fully optimized PBR textures.
Explore more deep dives, hands-on guides, and experiments in AI tools from my earlier articles below.

Step 4: One-Click Auto-Rigging
Rigging—the process of creating a skeleton for animation—is traditionally one of the most tedious steps in the 3D pipeline. Tripo AI automates this entirely. By selecting Auto Rig, the AI detects the character’s humanoid anatomy and generates a functional skeleton.

Figure 7: The automatically generated skeletal structure.
This single click replaces hours of manual bone placement and weight painting, making the character instantly ready for movement.
Step 5: Applying and Testing Animations
To verify the quality of the rig and textures, Tripo AI provides a library of pre-made animation presets, including idle, walk, and run cycles.
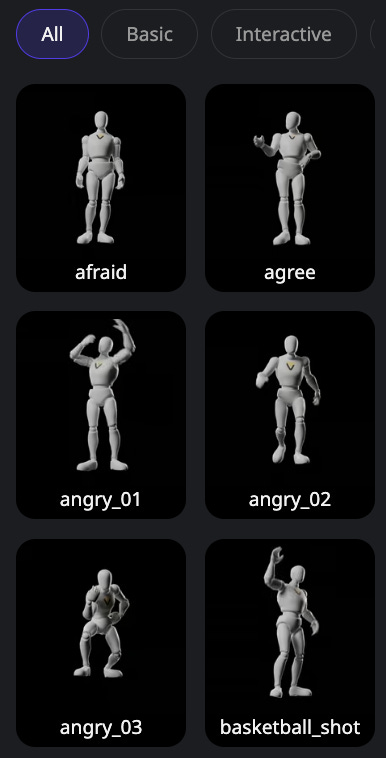
Figure 8: Browsing the library of built-in animation presets.
When you select a preset, the AI retargets the skeleton in real-time. This is an excellent way to test for mesh deformation issues or to quickly populate a scene with background characters.

Figure 9: Testing the character’s movement with a run cycle.
Walk & Run Cycle Preview — Testing Animation Quality and Rig Stability
This preview demonstrates how the character performs during basic locomotion cycles, helping verify natural motion, joint deformation, and overall rig accuracy before export.
Step 6: Exporting for Production
The final step is exporting your character for use in external software. Tripo AI supports industry-standard formats:
FBX (Filmbox): Ideal for Blender, Unity, and Unreal Engine (includes animations).
GLB (Transmission Format Binary) the binary version of glTF: Perfect for web-based applications and lightweight pipelines.

Figure 10: Exporting the finished asset for production.
Once imported into Blender or Unity or Spline, you have full creative control to modify animations, set up cinematic lighting, and build your final scenes.
Final Verdict: The New Era of 3D Creation
Tripo AI is more than just a convenience; it represents a fundamental shift in how 3D content is produced. By removing the technical hurdles of sculpting, retopology, and rigging, it allows creators to focus on what truly matters: storytelling and creative direction.
Whether you are an indie filmmaker, a YouTuber, or a small marketing team, the ability to turn a single image into a film-ready 3D character in minutes is a game-changer. AI isn’t replacing the animator; it’s finally making animation accessible to everyone.
Disclosure: This post is an advertorial.
 | A guest post by
|