Set Up OpenClaw(Clawdbot) in Minutes: 6 Easy Deployment Options for Beginners
Learn how to set up OpenClaw (Clawdbot) in minutes. Step-by-step guide for beginners using Emergent, VPS, Railway, Render & more—no deep tech skills needed.
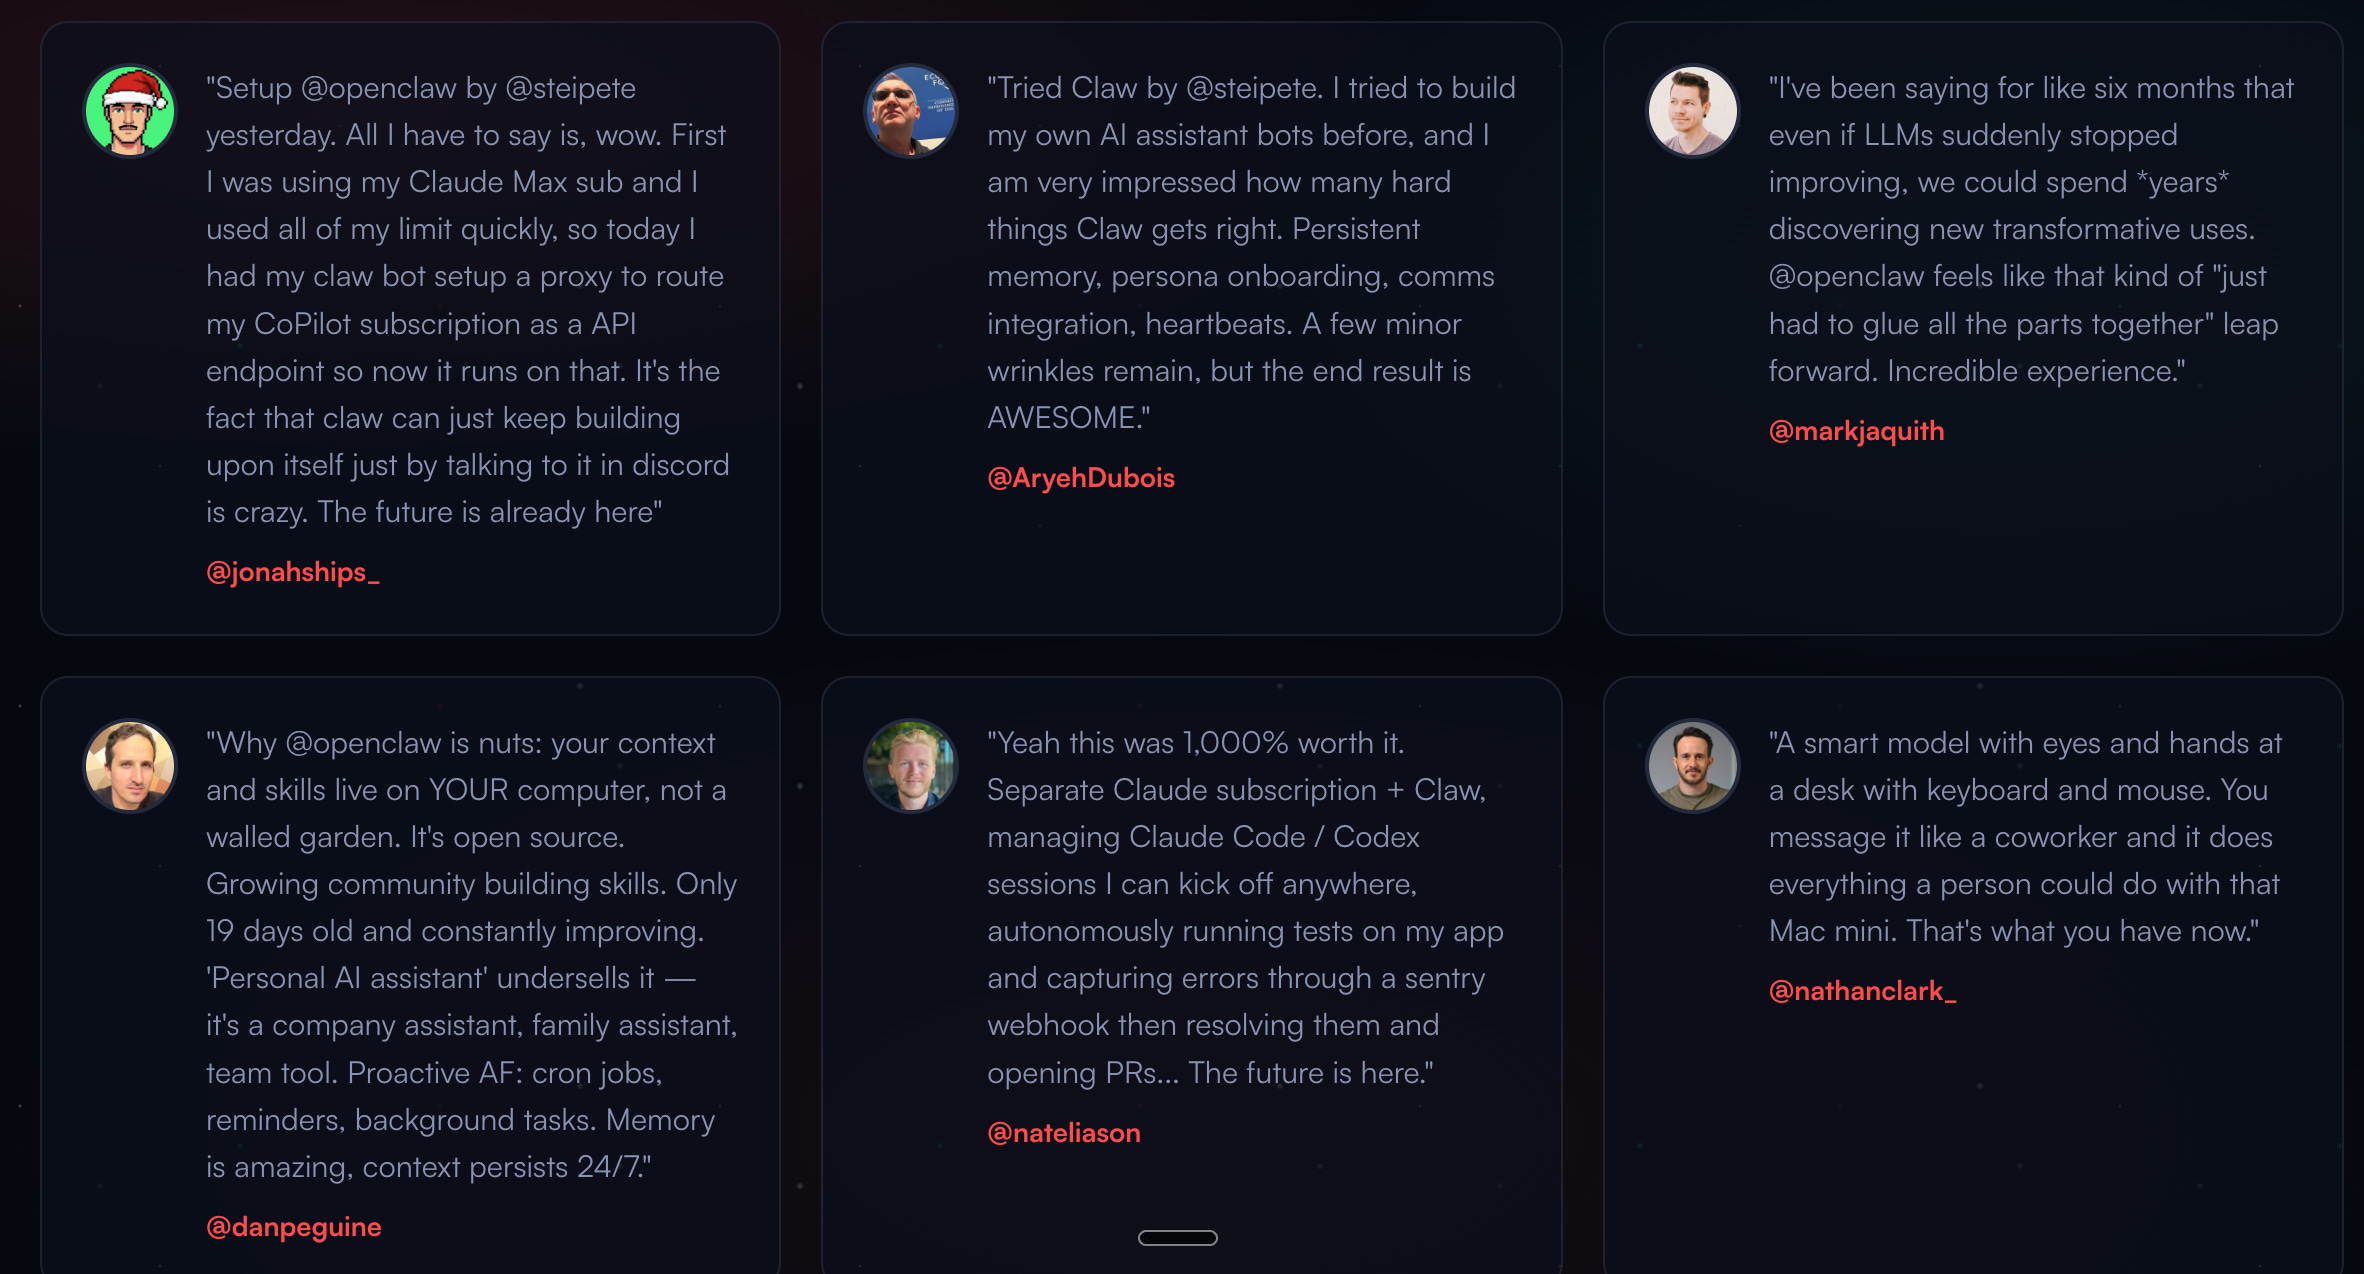
The Twitter world has been taken by storm by an open-source project called OpenClaw. Everyone wants to jump in, try it out, and see what it can actually do.
The problem? Setting it up can quickly turn into a nightmare, especially if you’re not very technical.
A local-first AI agent with deep system access isn’t something to casually install on your personal machine. One wrong move and you could end up deleting files or triggering actions you didn’t fully intend. That’s why setup matters just as much as the excitement.So it’s important we setup in a secure environment & play with it.
In this article, I have shortlisted few easy ways to set up OpenClaw and start running..before that let’s understand what is OpenClaw
Check out my other articles and Subscribe to stay updated
What is OpenClaw and Why is Everyone Talking About It?
OpenClaw (which you might remember as Clawdbot or Moltbot) is an open-source personal AI assistant that lives where you do: in your messaging apps. Unlike cloud-only assistants, OpenClaw is a local-first agent runtime that bridges powerful LLMs (like Claude 3.5 Sonnet) with your actual system tools.
It’s called - Claude with Hands
Why it’s powerful:
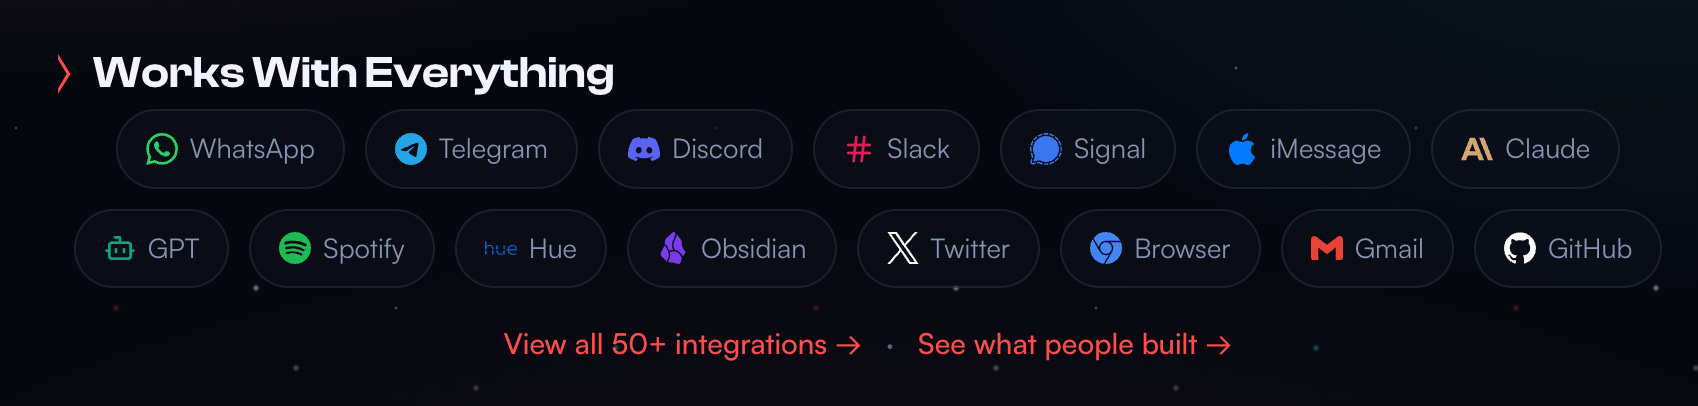
Multi-Channel Mastery: Chat with it via WhatsApp, Telegram, Discord, or Slack. You’re not locked into a single platform—OpenClaw goes where you are.
Non-technical users: start with Telegram If you’re not very technical, Telegram is by far the easiest channel to set up. It doesn’t require QR scans, browser pairing, or device-level permissions like WhatsApp. You simply create a bot, paste the token, and you’re live in minutes.
If this is your first time using OpenClaw, Telegram is the smoothest and least error-prone starting point.
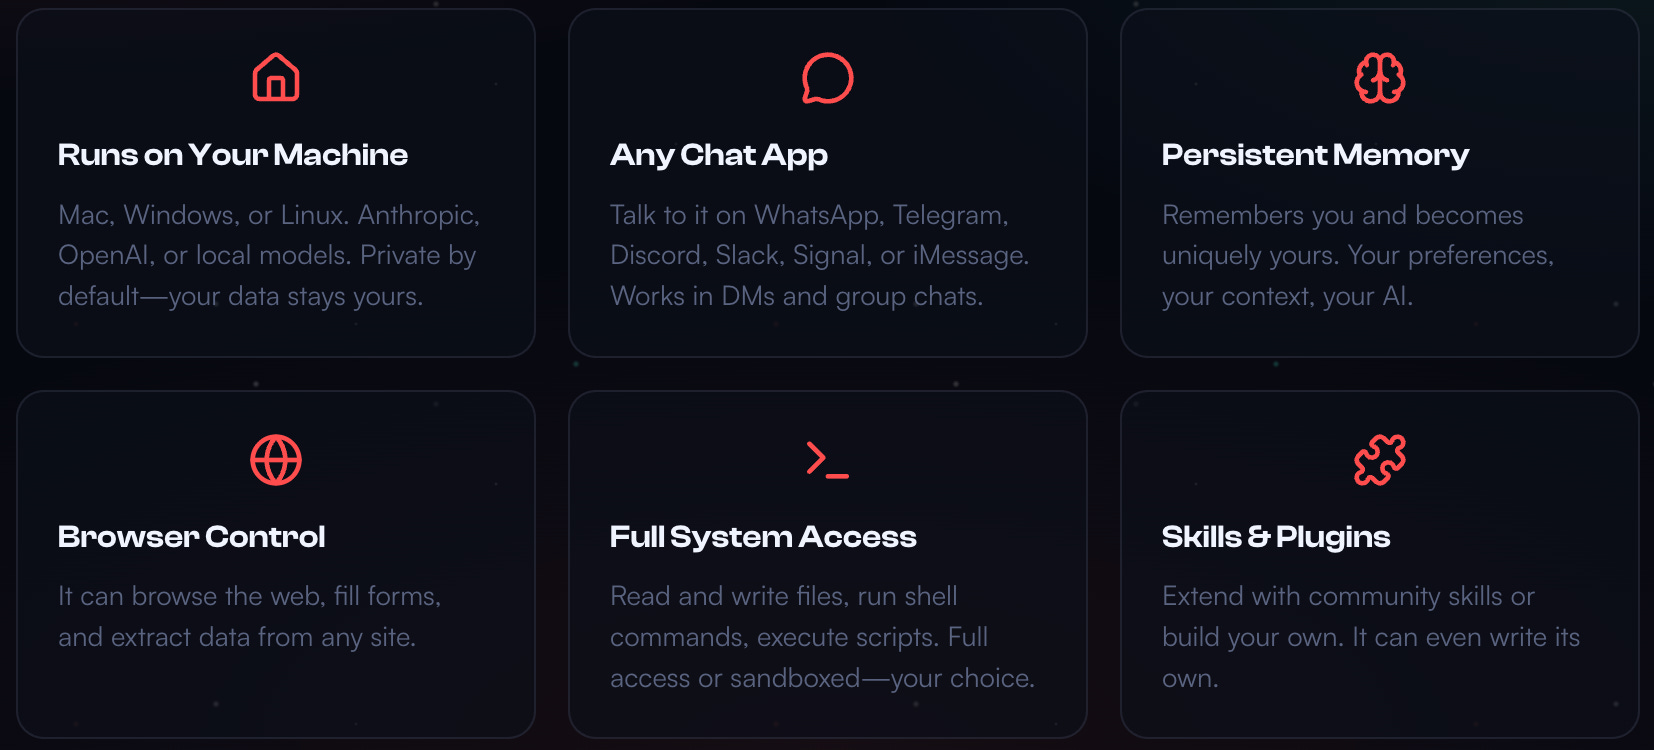
Deep System Access: It can run shell commands, browse the web, and manage files. This isn’t a chatbot that’s afraid of your filesystem; it’s an agent that actually does things.
Persistent Memory: It remembers your preferences and past conversations locally. No more explaining context every time you chat.
Proactive Intelligence: It doesn’t just wait for you; it can monitor your inbox or run cron jobs autonomously. Imagine an AI that actually gets work done while you sleep.
“OpenClaw is the most interesting project I’ve come across recently—an open-source personal AI assistant that can call almost any tool through plugins.” — @openclaw
Why I’m Excited About OpenClaw
It does feel like a step towards AGI but still a long way to go as it’s filled with bugs & security challenges.
Privacy First: Your data stays on your infrastructure. No vendor lock-in, no mysterious API calls to a third party.
Zero Latency: Because it’s built on Node.js and optimized for agentic workflows, it feels snappy. You won’t be staring at loading spinners.
The “Lobster” Ecosystem (Clawhub): The community-built skills (AgentSkills) are exploding. There’s a skill for almost everything now—from financial analysis to social media management.
Hardware Flexibility: You can run it on a $500 Mac Mini or a $5/mo cloud VPS. The choice is yours.
If you want to skip the 3-hour manual setup, here are your best options. I’ve ranked them by speed and ease of use.
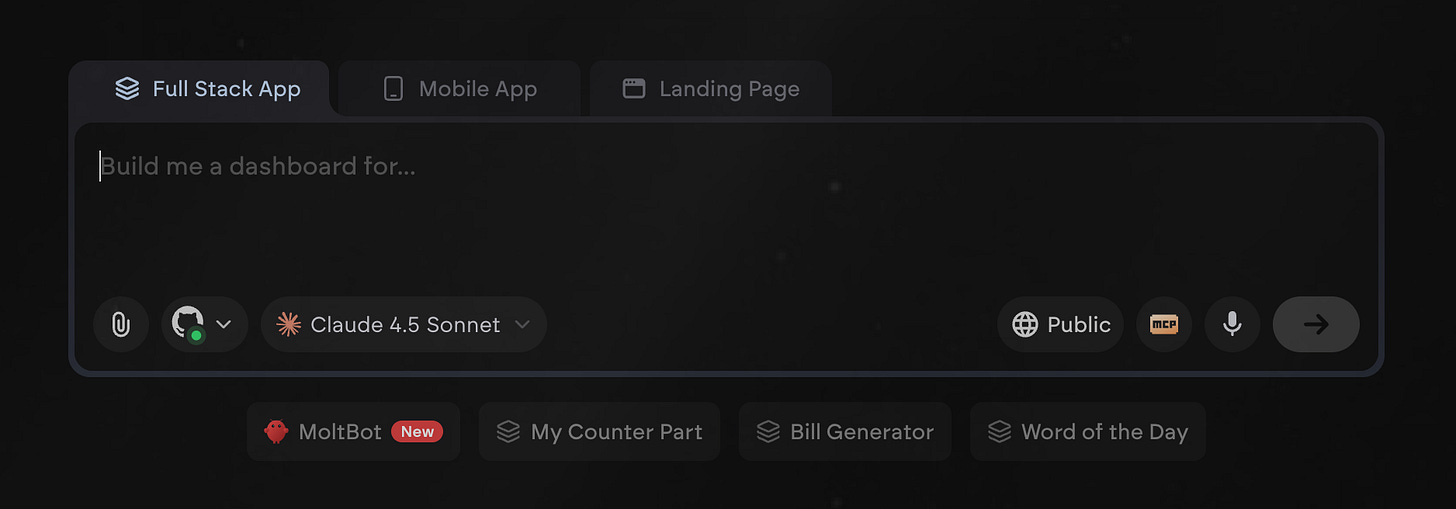
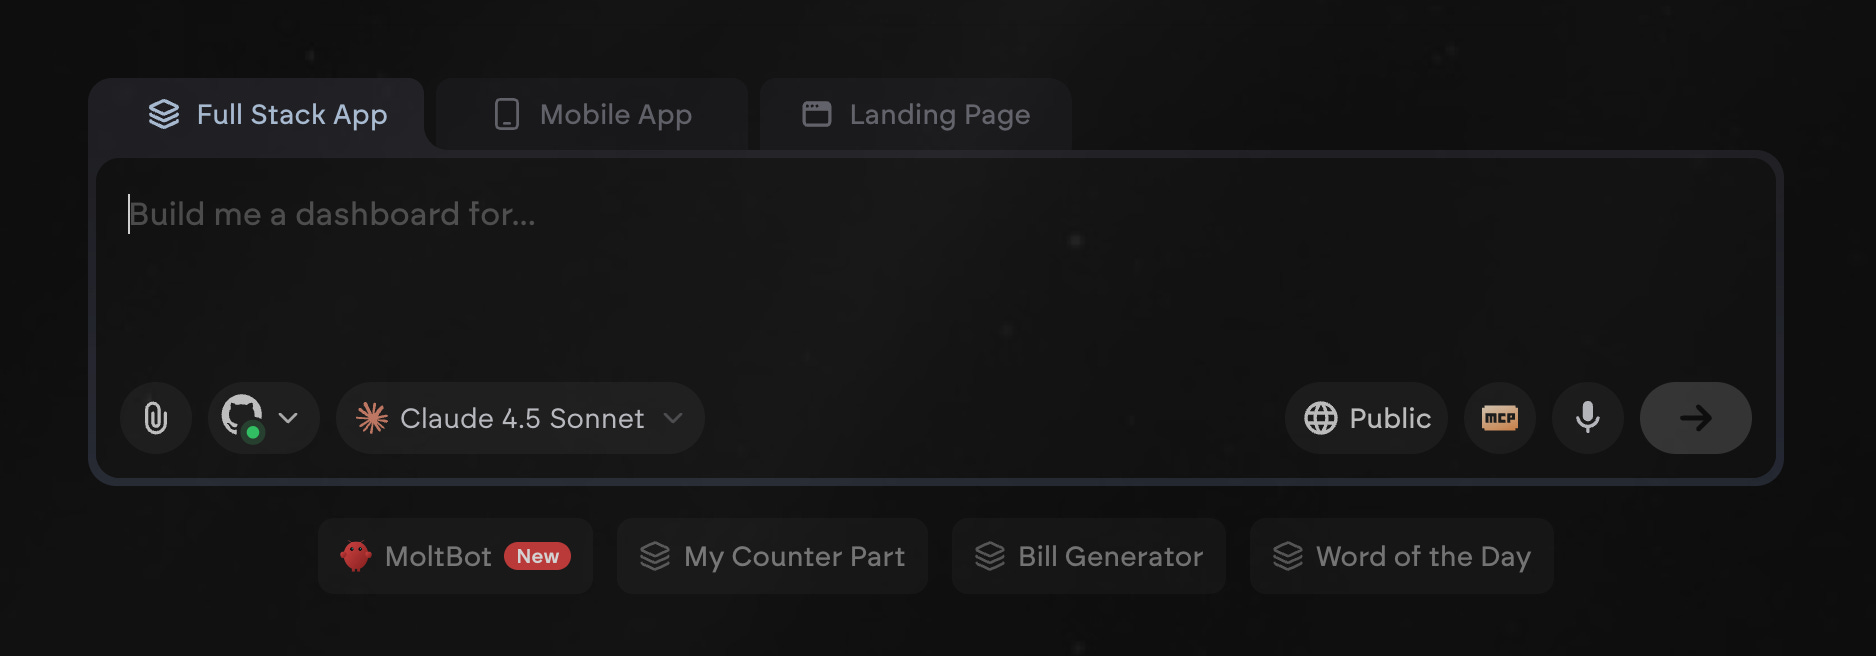
1. Emergent.sh: The “5-Minute” Path (Fastest)
Emergent.sh is currently the gold standard for “I want it now.” They’ve turned OpenClaw into a “chip” that you can launch instantly. No terminal required.
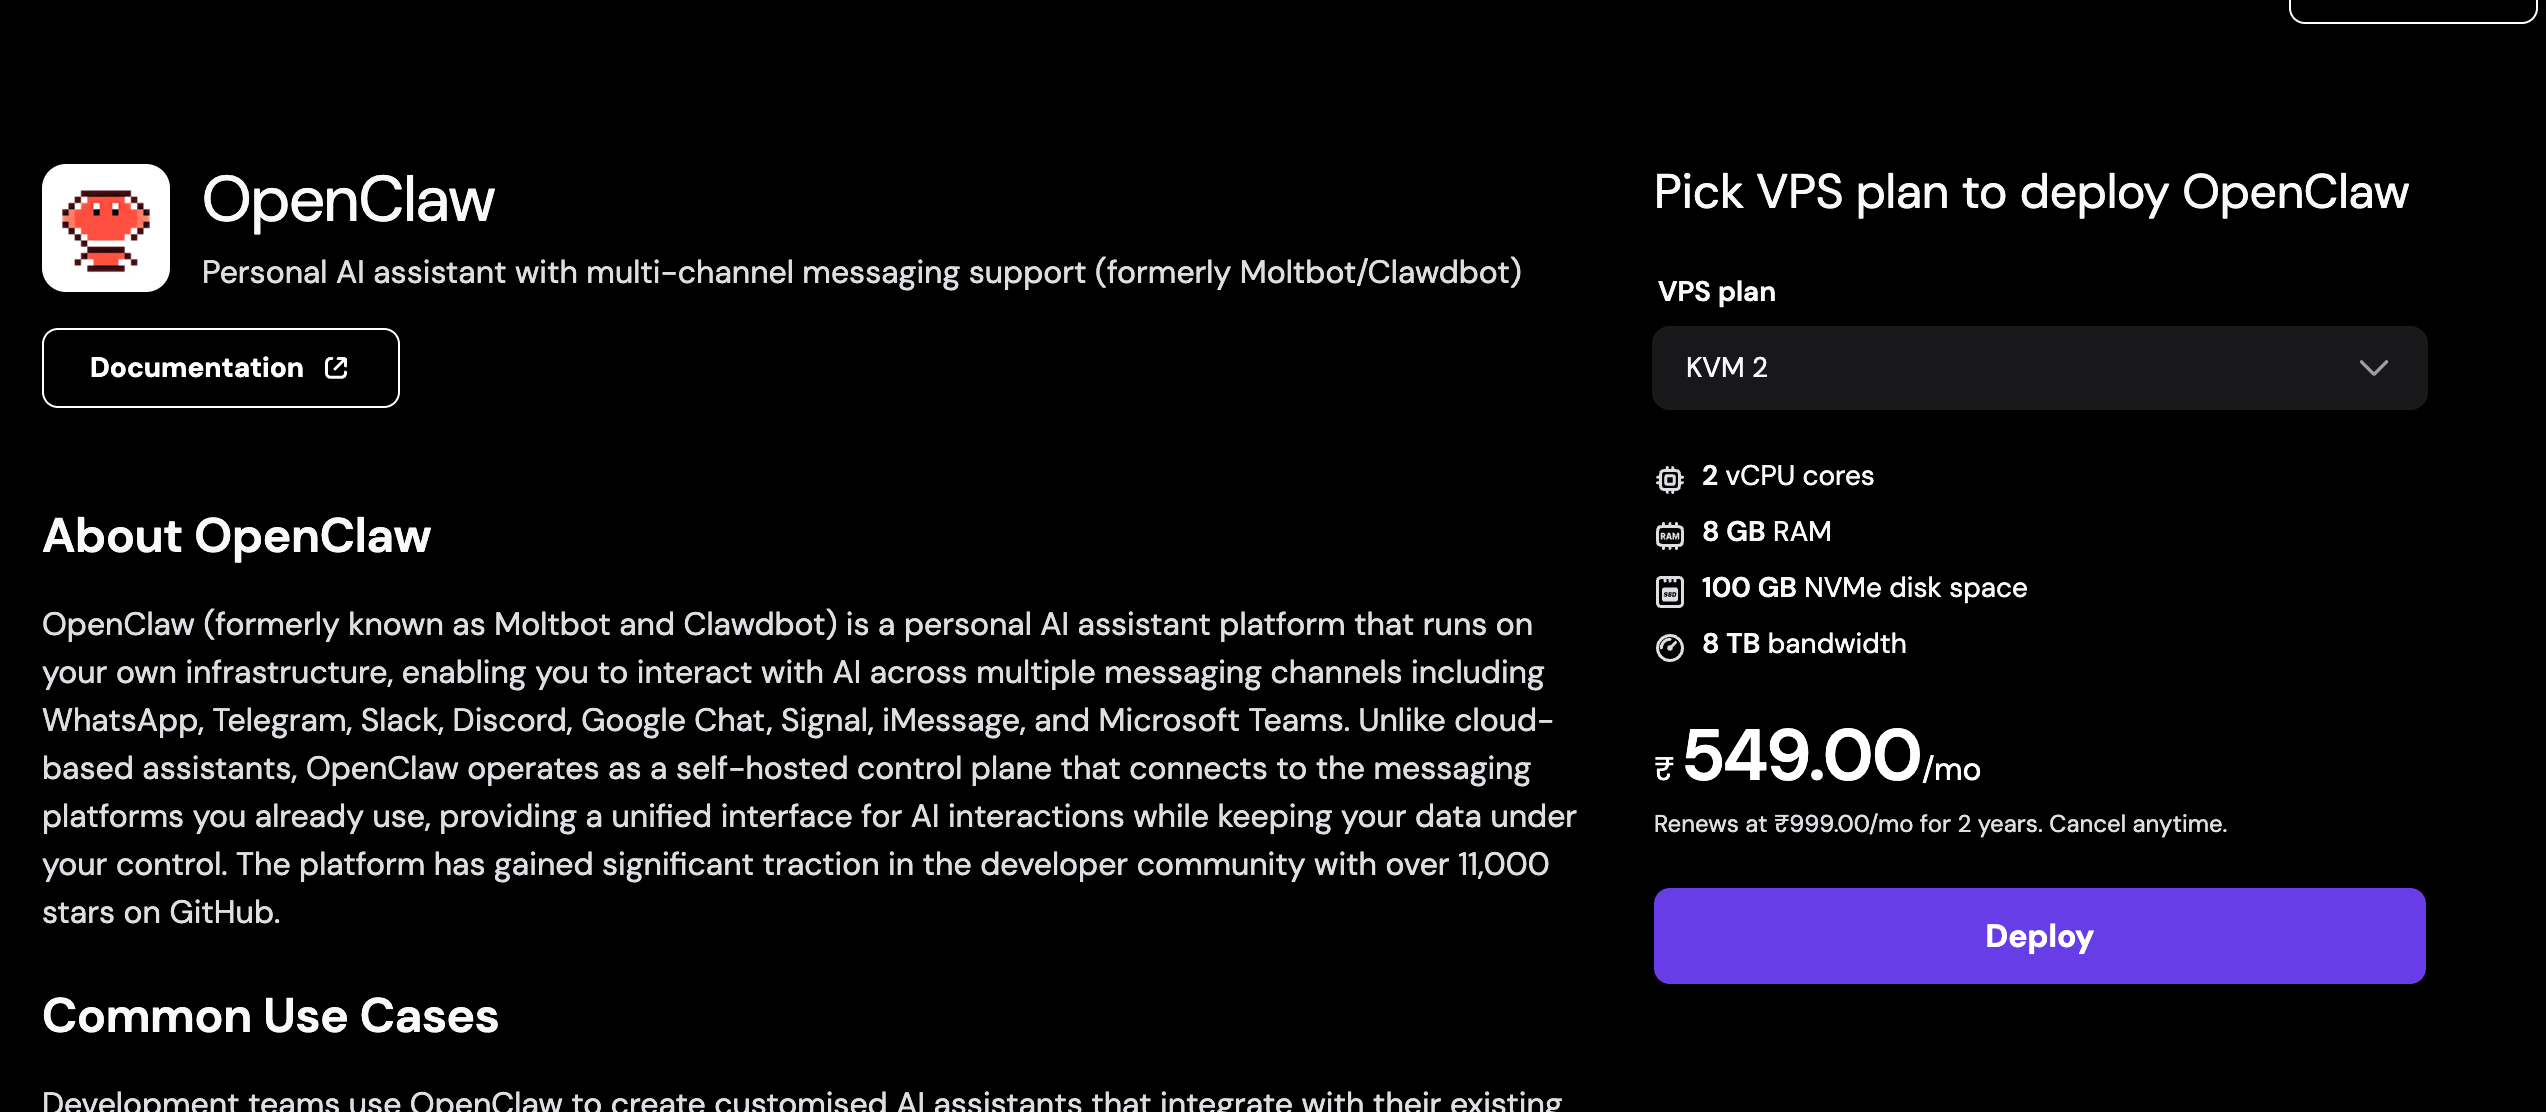
If you want full control and a dedicated IP, Hostinger’s One-Click OpenClaw VPS is the way to go. You get a real server with your own domain and 99.9% uptime guarantees in $5 per month.
Select OpenClaw Template: During checkout, choose the “OpenClaw” Docker template.
Get Your Token: Once deployed, check your dashboard for the OPENCLAW_GATEWAY_TOKEN.
Access the UI: Navigate to your VPS IP address. Paste your token to unlock the Control UI.
Scan the QR: Go to the “Channels” tab, select WhatsApp, and scan the QR code with your phone. You’re live. Else select Telegram.
Best for: Users who want a permanent, high-performance “AI Employee” with 99.9% uptime. This is for people who are serious about running OpenClaw long-term.
Time to Live: ~10 minutes
Pricing: Starting at $2.99/month (promotional), regular pricing $5.99/month and up.
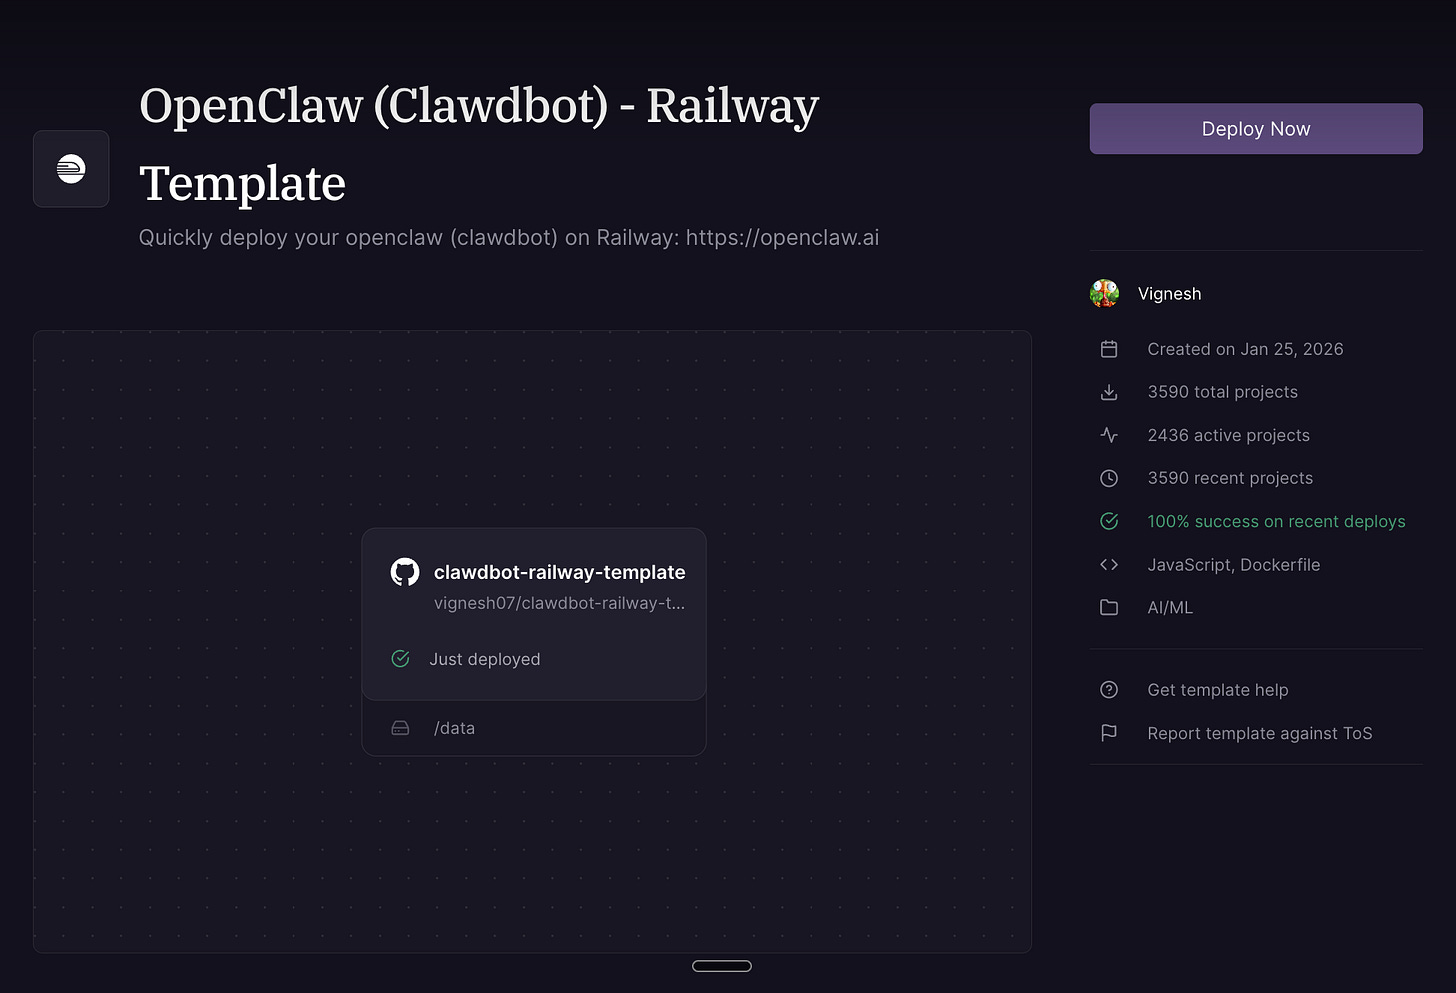
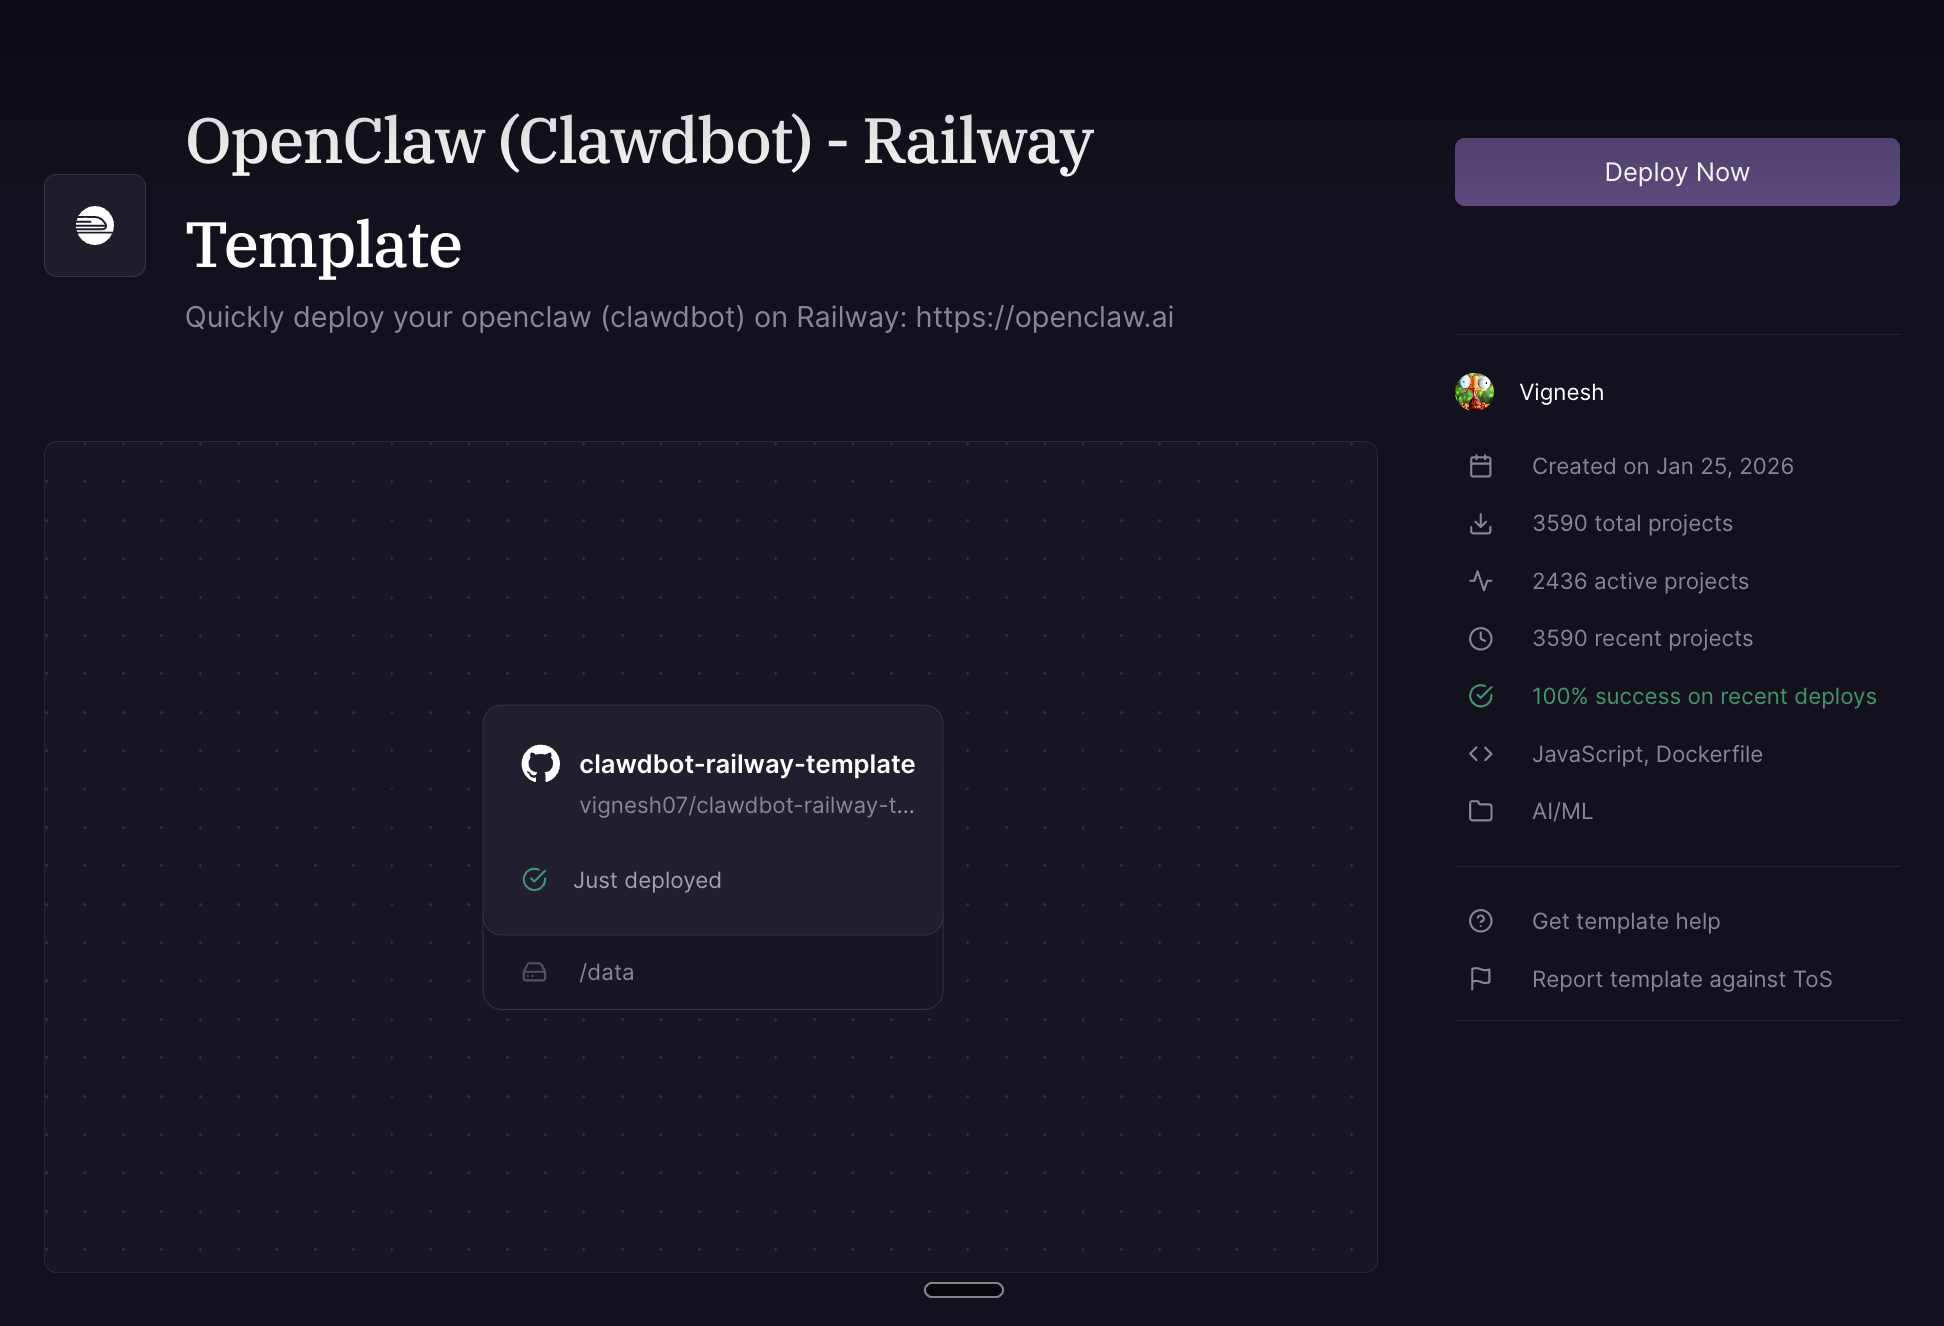
3. Railway: The “Developer-Friendly” Cloud Path
Railway.app offers a middle ground—cloud-native scaling with a beautiful UI. If you’re a developer who loves clean dashboards and easy logs, this is your jam.
Configure Variables: Set your SETUP_PASSWORD and ensure the port is set to 8080.
Add a Volume: This is crucial. Attach a volume at /data so your AI doesn’t “forget” everything when the server restarts.
Run the Wizard: Visit your generated Railway URL + /setup to finish the configuration in your browser.
Best for: Developers who want easy logs, version control, and simple scaling. Railway’s dashboard is a joy to use.
Time to Live: ~8 minutes
Pricing: Pay-as-you-go, starting at $0 with a free tier. But if you want to make good use of it, its preferred to go with a Always deployed Server.
4. Render: The “Infrastructure as Code” Path
Render allows you to deploy OpenClaw using an Infrastructure as Code approach, defining your entire stack declaratively. If you love YAML and reproducible deployments, Render is for you.
Set SETUP_PASSWORD: Render will prompt you to set this environment variable.
Build and Deploy: Render will automatically build the Docker image and deploy your service.
Complete Setup Wizard: Once deployed, navigate to https://<your-service>.onrender.com/setup, enter your SETUP_PASSWORD, select a model provider, and configure channels.
Best for: Users who prefer declarative infrastructure and easy scaling options. Render’s free tier is generous.
Pricing: Free tier available, paid plans start at $7/month.
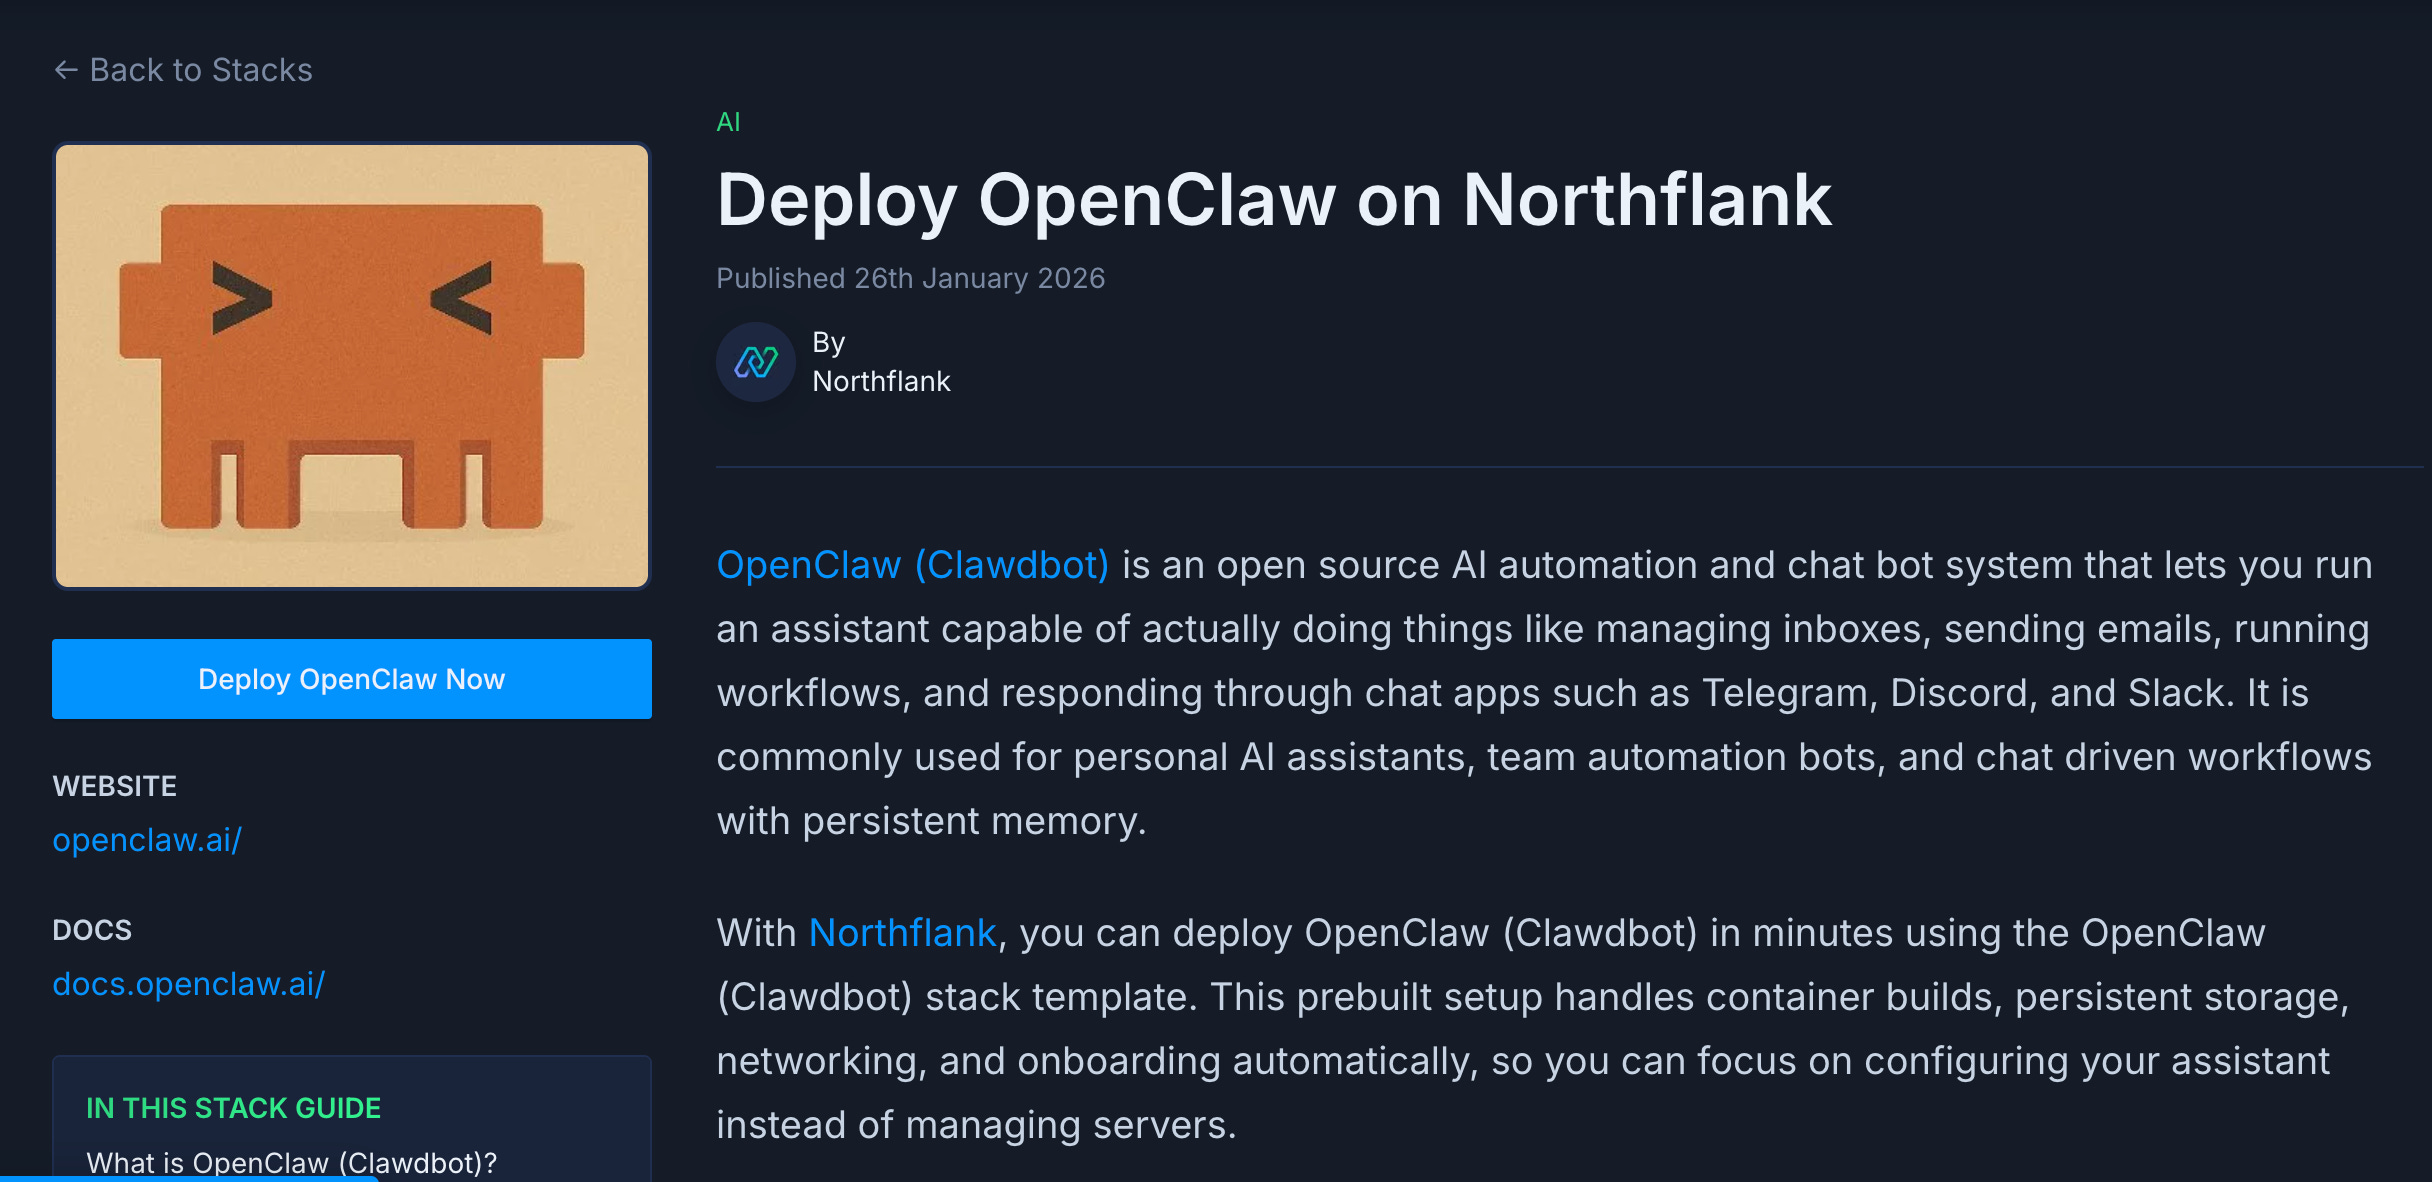
5. Northflank: The “One-Click Template” Path
Northflank provides a one-click template for OpenClaw, offering a streamlined deployment experience. It’s similar to Emergent but with more control over infrastructure.
Step-by-Step:
Deploy OpenClaw: Click the Deploy OpenClaw button to open the template.
Create Account: If you don’t have one, create an account on Northflank.
Deploy Stack: Click “Deploy OpenClaw now” and set the SETUP_PASSWORD environment variable.
Complete Setup: Once deployed, open the public OpenClaw URL and complete the setup at /setup.
Best for: Users who want a quick, no-terminal deployment with persistent storage and a balance between simplicity and control.
Pricing: Free tier available, paid plans start at $5/month.
6. Cloudflare MoltWorker: The “Serverless” Path
Cloudflare MoltWorker allows you to run OpenClaw as a self-hosted AI agent on Cloudflare’s serverless platform, leveraging their Sandbox SDK and Developer Platform APIs. This is the most advanced option—perfect if you’re already in the Cloudflare ecosystem.
Install Dependencies: Run npm install in the project directory.
Set API Key: Use npx wrangler secret put ANTHROPIC_API_KEY for direct Anthropic access, or configure Cloudflare AI Gateway for Unified Billing.
Generate Gateway Token: Generate and set a gateway token using export MOLTBOT_GATEWAY_TOKEN=$(openssl rand -hex 32)and echo "$MOLTBOT_GATEWAY_TOKEN" | npx wrangler secret put MOLTBOT_GATEWAY_TOKEN.
Deploy: Run npm run deploy to deploy your MoltWorker.
(replace with your worker subdomain and token) and complete the setup, including Cloudflare Access for UI protection.
Pricing: Requires a Cloudflare Workers Paid plan (starting at $5 USD/month) for Sandbox containers. Additional costs may apply for AI Gateway usage depending on your model provider and billing method.
Best for: Developers seeking a serverless, highly scalable, and secure deployment with Cloudflare’s ecosystem. This option gives you the most control and the best performance.
Time to Live: ~15 minutes (if you’re familiar with Cloudflare)
Do You Need a Mac Mini?
You’ll often see people on X/Twitter showing off OpenClaw running on a dedicated Mac Mini. While that’s the “ultimate” local setup for maximum privacy and power, you don’t need it to start.
The cloud options above (Emergent, Hostinger, Railway, Render, Northflank, Cloudflare MoltWorker) give you the same power for a fraction of the upfront cost. Start with a VPS, and if you fall in love with the “Lobster life,” then go buy the hardware.
Pricing Comparison Table
Emergent.sh
Starting Price: $0 (free tier)
Setup Time: ~5 minutes
Best For: Beginners, quick testing
Free Tier: Yes
Hostinger
Starting Price: $5.99 / month
Setup Time: ~10 minutes
Best For: Long-term usage, dedicated IP
Free Tier: No
Railway
Starting Price: $5 (Hobby Plan)
Setup Time: ~8 minutes
Best For: Developers, logs, clean DX
Free Tier: Yes
Render
Starting Price: $19 per month
Setup Time: ~12 minutes
Best For: Infrastructure as code, YAML lovers
Free Tier: Yes
Northflank
Starting Price: ~ $5 - $10 per month
Setup Time: ~7 minutes
Best For: Balance of simplicity and control
Free Tier: Yes
Cloudflare MoltWorker
Starting Price: $5 / month
Setup Time: ~15 minutes
Best For: Serverless deployments, high scalability
Free Tier: No
My Verdict
If you’ve been sitting on the sidelines because the setup looked too hard, try Emergent.sh today. It takes 5 minutes, and you’ll finally understand why the AI community is obsessed with this red lobster.
The barrier to entry is gone. There’s no excuse not to try it.