
OpenAI Agent Builder + ChatKit: Build a No‑Code AI Chatbot
OpenAI’s new Agent Builder and ChatKit — a visual, no-code system for building and deploying complex AI chatbots. Learn how to connect tools, deploy workflows, and what challenges to expect.

During OpenAI’s Dev Day, three major products were announced—but the one that really made me curious was the Agent Builder, a no-code AI chatbot and workflow builder.
It’s a visual, drag-and-drop tool that lets anyone create multi-step AI workflows and connect them with external tools like Gmail, Google Drive, Zapier, and Supabase. Unlike coding agents manually, this gives you complete control over your logic, structure, and flow—all from a clean, intuitive visual interface.
Alongside it came ChatKit, a simple way to launch your agent directly on your website or product. Between these two, you can now build, test, and deploy a smart chatbot or workflow agent in minutes.
No Time to Read? Here’s the Scoop
Visual Workflow Canvas: Build entire multi-agent logic flows using drag-and-drop nodes.
ChatKit Integration: Design and deploy the chat widget.
MCP Power: Connect Gmail, Google Drive, Zapier, and more directly to your agent.
Flexible Deployment: Choose between ChatKit for quick embedding or Agent SDK for deeper control.
My Test Build: I created a working Tool Recommendation Agent with multiple sub-agents and safe filters—without writing code.
Challenges: MCP connection stability and deployment complexity are current pain points. May not be able to build as complex workflows like n8n or make.com
What is OpenAI Agent Builder? A Visual No‑Code AI Workflow Builder
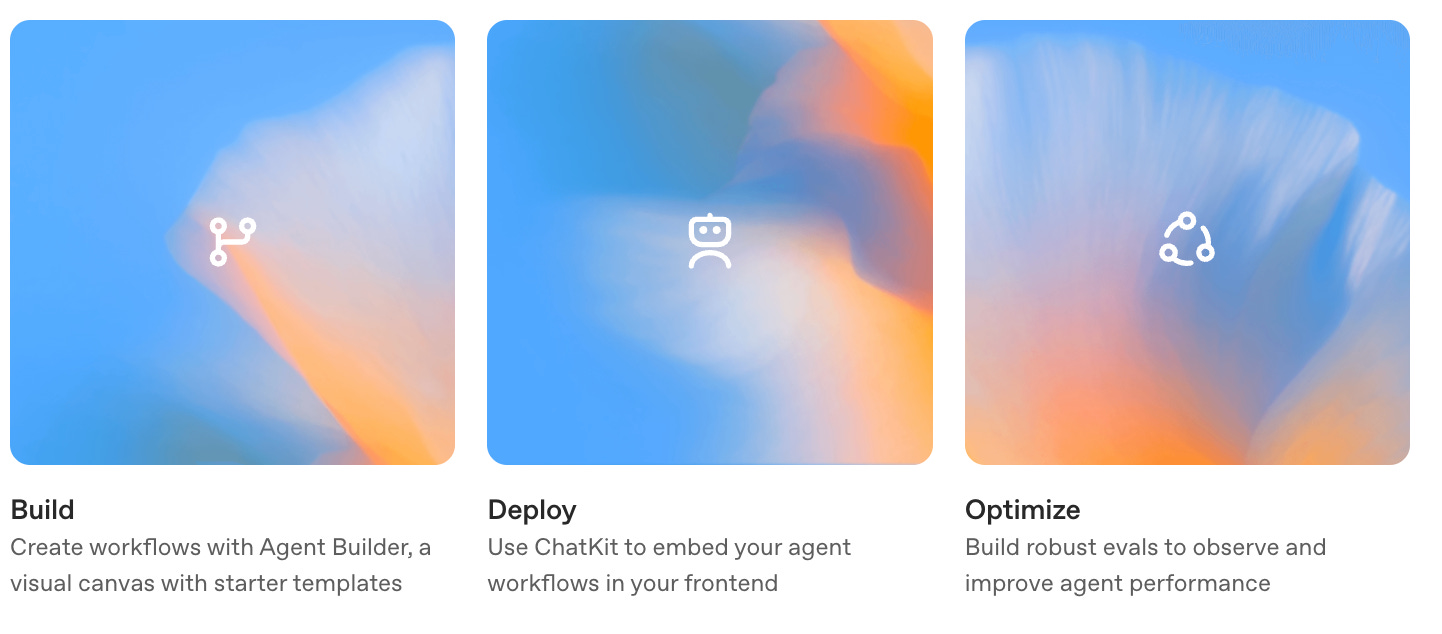
AgentKit is a modular toolkit for building, deploying, and optimizing agents.
The Agent Builder is available inside the OpenAI Playground at platform.openai.com/agentbuilder. It’s designed as a visual canvas, allowing you to connect logical blocks (called nodes) that define how your agent behaves, interacts, and reasons. Each node performs a specific function—from classifying user intent to making API calls or connecting to external services.
Here’s a quick look at the main node types and their functions:
Node Purpose Key Features
My Experience: Building My Own Tool Recommendation Agent
I built a simple agent inside the Agent Builder — a Tool Recommendation Agent that classifies a user’s request and provides AI tool suggestions from my internal dataset of tools.thetoolnerd.com or gives answers about my database or answer user queries from my articles that I have written.
Here’s what my workflow looks like:

The flow begins with a Guardrails node, ensuring user queries are safe before moving forward. Next, a Classification Agent identifies the user’s intent—whether they’re looking for data, information, or specific tool recommendations.
An If/Else node routes the conversation accordingly:
If it’s a query about tools, it triggers the Tool Recommendation Agent - which has access to my tools library.
For data-related questions, it activates the Data Agent - which has access to my tools database in csv & Code Editor.
For general info, it moves to the Info Agent - which has access to the articles that I have written.
Finally, each branch ends in an Agent node that generates the response and cleanly exits with an End node.
The ChatKit Advantage
What impressed me most was ChatKit (https://chatkit.studio/playground), OpenAI’s new front-end toolkit that pairs perfectly with the Agent Builder. You can design beautiful chat widgets using the ChatKit Playground—customizing typography, colors, message styles, or even adding model and persona pickers.
Here’s what you can modify inside the Playground:
Styling and Themes: Choose between light or dark modes, set accent colors, and adjust corner radii, spacing, and message bubble styles. It’s designed to make the chatbot blend naturally with your product’s brand.
Typography: Adjust font type, size, and density to match your website’s tone. You can make the text conversational, compact, or more formal depending on your use case.
Start Screen: Personalize your greeting message and starter prompts. This is where you can create a welcoming experience that guides users to start a conversation.
Model and Persona Pickers: Allow users to switch between different model versions or conversational personas. For example, you could have a “Friendly Support” persona and a “Technical Expert” persona within the same chat widget.
Attachments and Inputs: Enable or disable file uploads, image inputs, or feedback buttons (like thumbs-up/down) to suit your workflow.
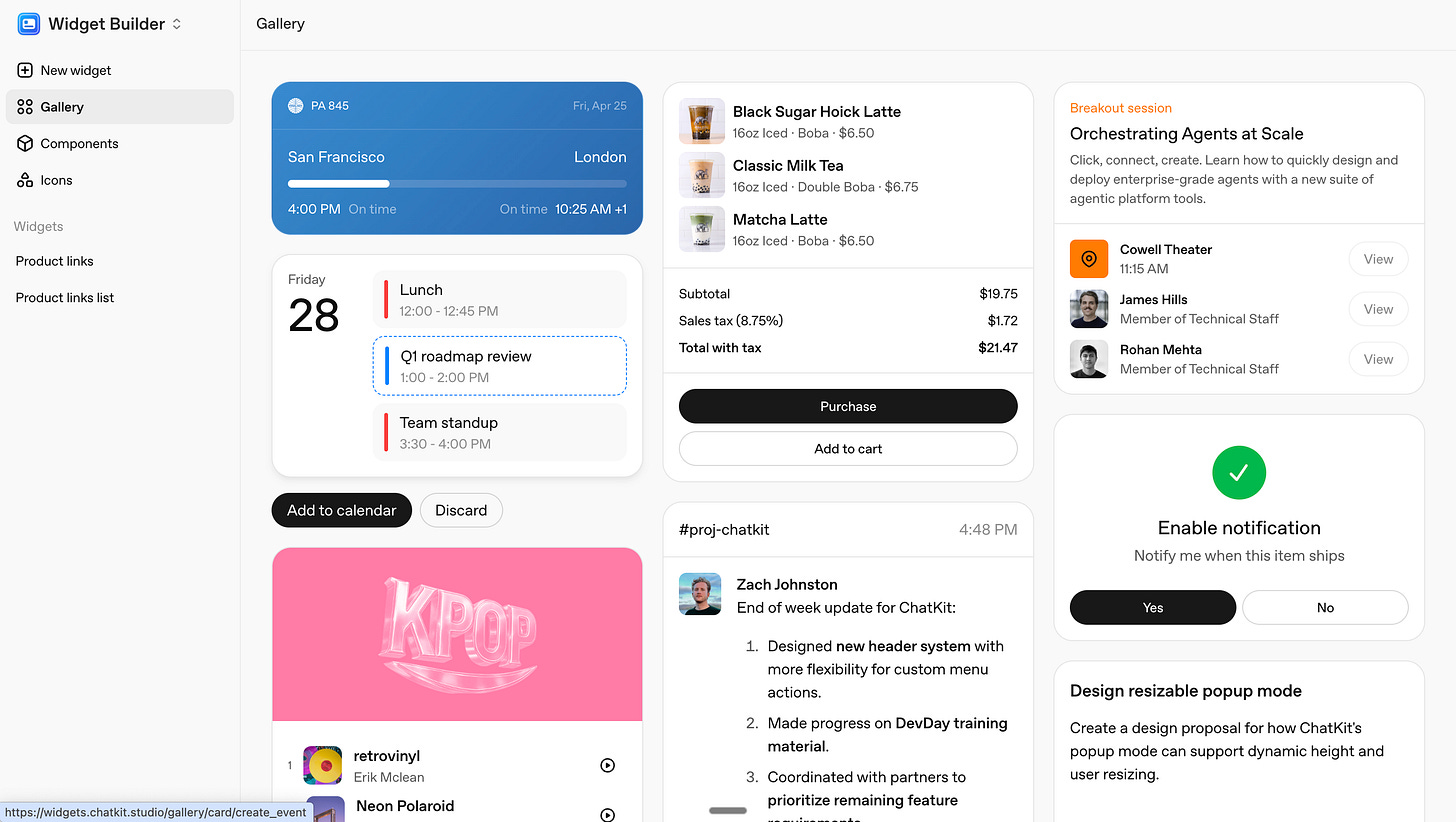
Widgets: Add widgets from the Widget Builder, such as charts, product lists, or data cards, which can appear directly in the chat thread. You can also create your own with the widget builder - https://widgets.chatkit.studio/

Every change you make in the Playground is previewed instantly, making it easy to experiment with different combinations of design and functionality. Once finalized, you can export your configuration and connect it with your workflow ID for immediate deployment through ChatKit.
Agent Evals: Measuring Agent Quality
Building reliable agents means testing how well they perform. OpenAI’s Evals now makes that easier with new tools to measure and improve agent quality:
Datasets: Quickly create and grow evals with automated graders and human feedback.
Trace Grading: Test full workflows and identify weak points automatically.
Prompt Optimization: Improve prompts based on grader results and annotations.
Third-Party Model Support: Evaluate non-OpenAI models within the same platform.
These updates make Evals a practical way to track, compare, and refine your agents before deployment.
Connecting External Tools with OpenAI Agent Kit
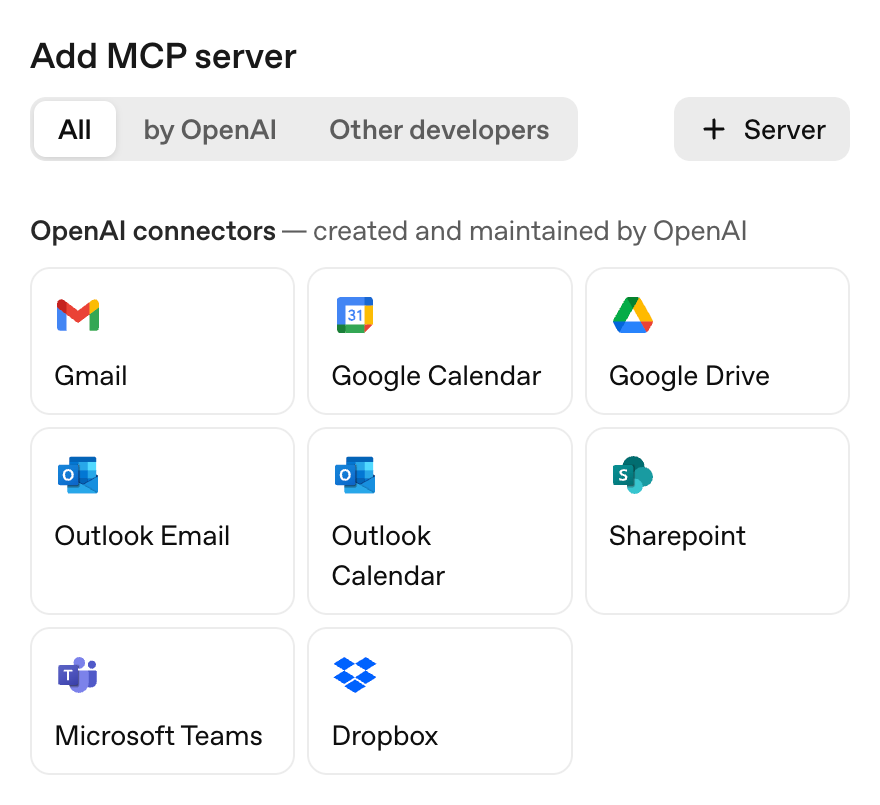
The MCP (Model Context Protocol) connector is one of the most powerful aspects of the Agent Builder. You can directly connect to services like Gmail, Google Drive, Box, and even Zapier. The Zapier integration itself opens doors to hundreds of other tools indirectly, making this a serious automation enabler.
However, I did face challenges while trying to connect it to Supabase. The configuration wasn’t stable, and the data sync didn’t always trigger as expected. This is something OpenAI will likely improve as the MCP ecosystem expands.
Still, once configured correctly, MCP can handle workflows like sending emails, fetching files, creating database entries, or even running scheduled tasks—all from within your Agent’s flow.
Deployment and Integration
While building and testing the agent inside OpenAI’s Agent Builder is seamless, deploying it for real-world use requires some setup. OpenAI currently offers two deployment options:
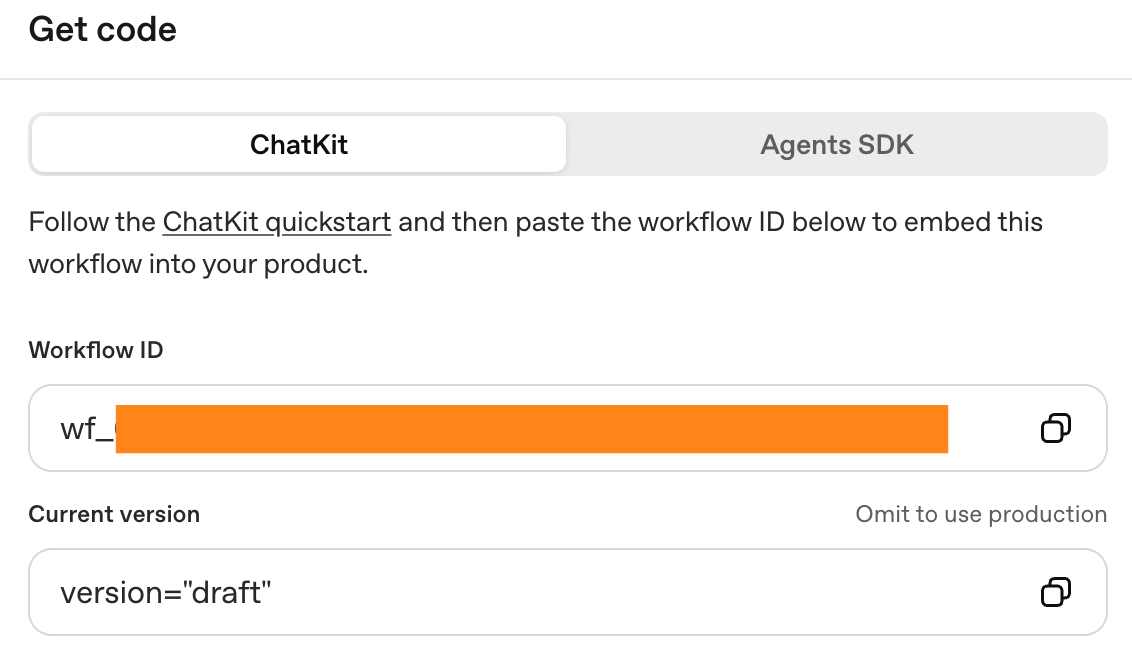
ChatKit : ChatKit makes it easy to embed a fully functional chat widget directly on your website. Once your workflow is ready, you get a workflow ID, which you connect to your ChatKit implementation. To make it work, you need an OpenAI account on your server and must generate a client token. Your server-side code then passes in your workflow ID and secret key to the ChatKit session endpoint. Once configured, you can embed the chat widget on your site and customize it freely using the ChatKit Playground.
Agent SDK: This method is developer-focused. The SDK lets you deploy scripts in Python or JavaScript using the same workflow structure. OpenAI provides full example code, making it easier for developers to integrate the agent into existing apps or backends.
Though both methods are well-documented, I think ChatKit deployment not as straightforward as the building experience. You need to set up a backend endpoint, handle authentication securely, and exchange tokens between your server and ChatKit. It’s manageable but might be tricky for non-developers.
For developers, the Agent SDK gives more flexibility, especially when integrating custom business logic or advanced data handling.
If you’re setting it up, OpenAI’s documentation provides step-by-step resources and sample repositories for both SDKs, including theming and widget customization.
Useful Links:
What You Can Build with It
With this system, you can build far more than basic chatbots. Here are just a few real possibilities:
Internal Knowledge Assistants for your team that reference company files.
Customer Support Bots that combine real-time reasoning with external tool calls.
Data Insights Agents that fetch and transform data before summarizing it.
Workflow Automators connected via MCP to external systems (Zapier, CRMs, etc.).
E-commerce Support Bots with embedded checkout widgets.
Why It Stands Out
Visual First: Everything is drag-and-drop. You can literally see your AI logic.
Safe by Design: Guardrails and moderation built-in.
Deploy Ready: Instantly embed on any site using ChatKit.
Extendable: Connect with Gmail, Zapier, Supabase, and other APIs through MCP.
Evaluation & Debugging: Built-in testing tools to evaluate agent performance.
Limitations and Challenges
While it’s powerful, the Agent Builder is still in early stages:
You need a development OpenAI account for full access.
MCP connections to platforms like Supabase was inconsistent, and didn’t work when I tried. Many others in the developer community have raised similar issues.
Deployments, though flexible, require a proper server-side setup which may not be beginner-friendly.
Despite these, the direction is promising. OpenAI is clearly building toward a complete AI workflow ecosystem—from reasoning and UI to automation and deployment.
Final Thoughts
If you’ve been waiting for a simple, no-code way to deploy smart chatbots on your site, OpenAI’s Agent Builder + ChatKit might be your best starting point. It’s visual, modular, and surprisingly fast to deploy. For me, it was one of the cleanest experiences I’ve had in creating a functional AI workflow.
This tool could be to AI workflows what Zapier was to automation—a launchpad for people who want power without the complexity.
Check out the official video:
Check out my previous articles:


